Essentially, we try to eat whole, unprocessed foods. If it is processed, we will only eat it if we know and can pronounce the names of all the ingredients. We have managed, over time, to find ways to avoid unhealthy ingredients. We spend lots of time reading labels in the grocery store to make sure we are avoiding:
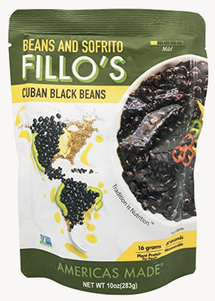
When preparing for backpacking trips, we have compared the ingredients of multiple brands. We have found that some are much better than others. You can see which brand is our FAVORITE in the “Dehydrated Food Breakdown” post here!
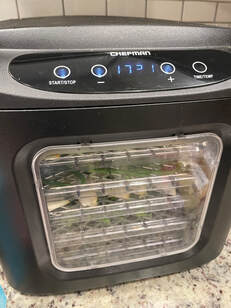
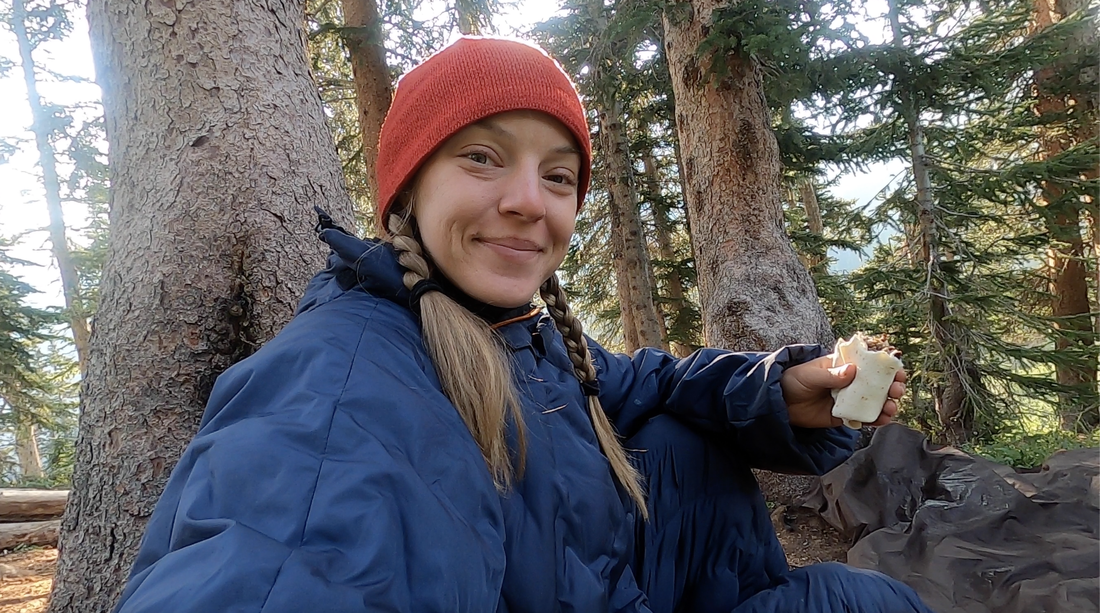
The dehydrator is much easier to use than I ever thought it would be. At first, I was hesitant and played it safe--only dehydrating fruits and making fruit leathers. I knew I couldn't really go wrong or make myself sick on the trail with fruit. Once I found some recipes and recipe books, I learned that you really can’t over-dehydrate something, so now I’m always thinking, “How can this be dehydrated?”
Here are my top 3 lessons for beginner dehydrated food preppers:3) Think Ahead
2) Parchment paper is your best friend Before I received my dehydrator, I dried a lot of things in the oven. Every time, I would use parchment paper to keep my food off the cooking sheet. For some reason, it took me a while to consider using parchment paper in my dehydrator. I learned my lesson when I attempted to dehydrate some basil and parsley, and the majority of it fell through the racks and onto my fruit roll ups on the bottom! 1) Separate meats and fruits.
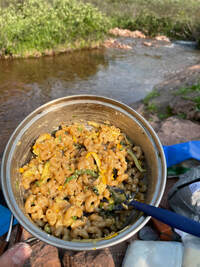
Take time to plan out your dehydrating schedule based on how many shelves you have, every item you need to dehydrate, and how long each will take to dehydrate. You do not want to end up with spicy-flavored apple slices for breakfast on the trail; I promise. I have discovered some of my backpacking meals are easier, more nutritious, and way more delicious than some of the store-bought packages. My friend Doug even said that my dehydrated breakfast tacos were better than the four days of dehydrated meals he had eaten! Here are my favorite recipes to date:Trail Tacos from Camp Kitchen (Find the recipe, here)
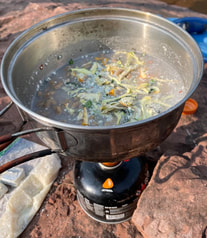
Couscous with Vegetables (Recipe found on Reddit)
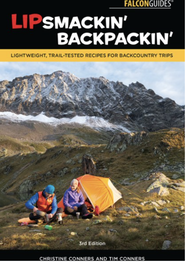
Fruit Roll Ups aka "Fruit Leathers" Recipe from Lip Smacking' Backpacking
There you have it. Lessons, recipes, and all the gear you need to make the healthiest dehydrated meals possible. I will continue to update this post as I find new, easy, and healthy backpacking meals that I enjoy. I cannot wait to hit the trail and try out some new recipes! Share your favorite recipes below in the comment section!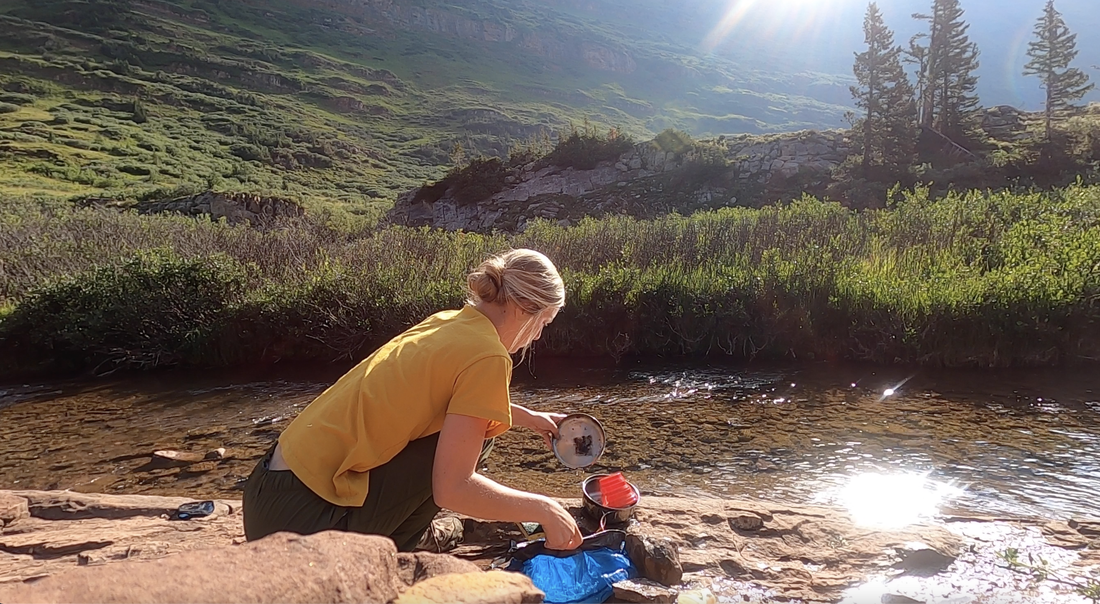 See more from our other backpacking trips:
0 Comments
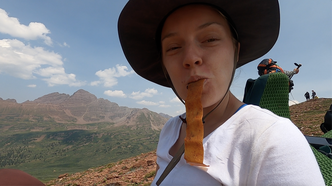
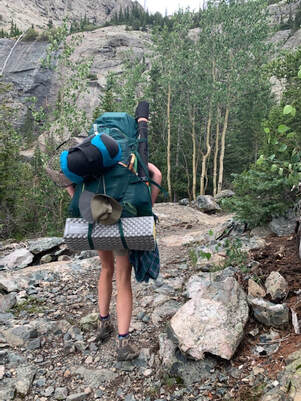
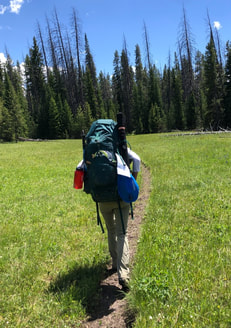
You can read all about our four day hike in my “Four Pass Loop Experience” blog post, here! Luckily, before we hit the trail, my girlfriend planned out the route and itinerary. All I had to do was pack my own gear and food. This made my entire preparation process much easier, but it didn’t make it simple. I had to figure out how to fit and carry all of my own cooking gear, sleeping equipment, safety supplies, camera accessories, and everything else in one backpack 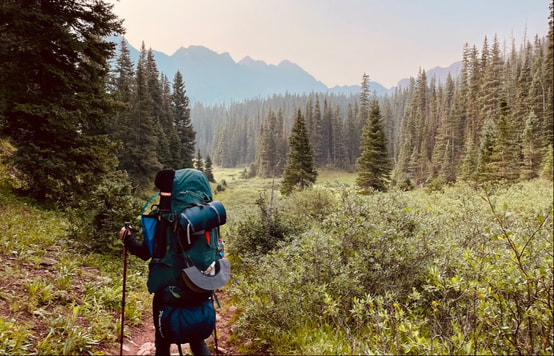 My loaded down Kelty backpack on The Four Pass Loop trail in Crested Butte, Colorado. First solo multi-day trip!Packing like this was a first for me. I have never taken a multi-night backpacking trip without John. We usually split our “necessary” equipment then carry our own clothes and water. This time I would be all alone. 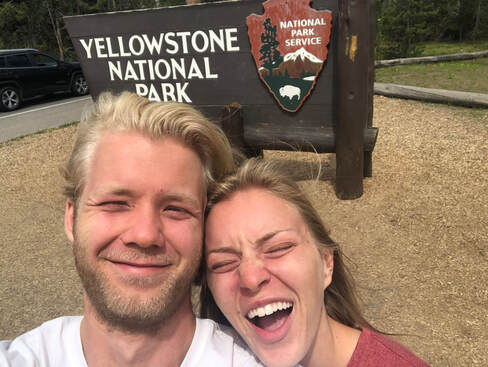 First backpacking trip and first time to Yellowstone National Park! Our first multi-night backpacking hike was in Yellowstone National Park! It was a doozy and didn’t quite go as planned. Read our “Backpacking through Yellowstone’s Backcountry” blog post to find out what happened! Backpacking alone was a major learning curve for me. I learned a lot packing, carrying, and unpacking my gear every day on the trail. In this post, I want to share a few things I learned, a couple of pieces of gear I loved, and a few pieces of equipment I cannot wait to replace with something lighter or more functional. 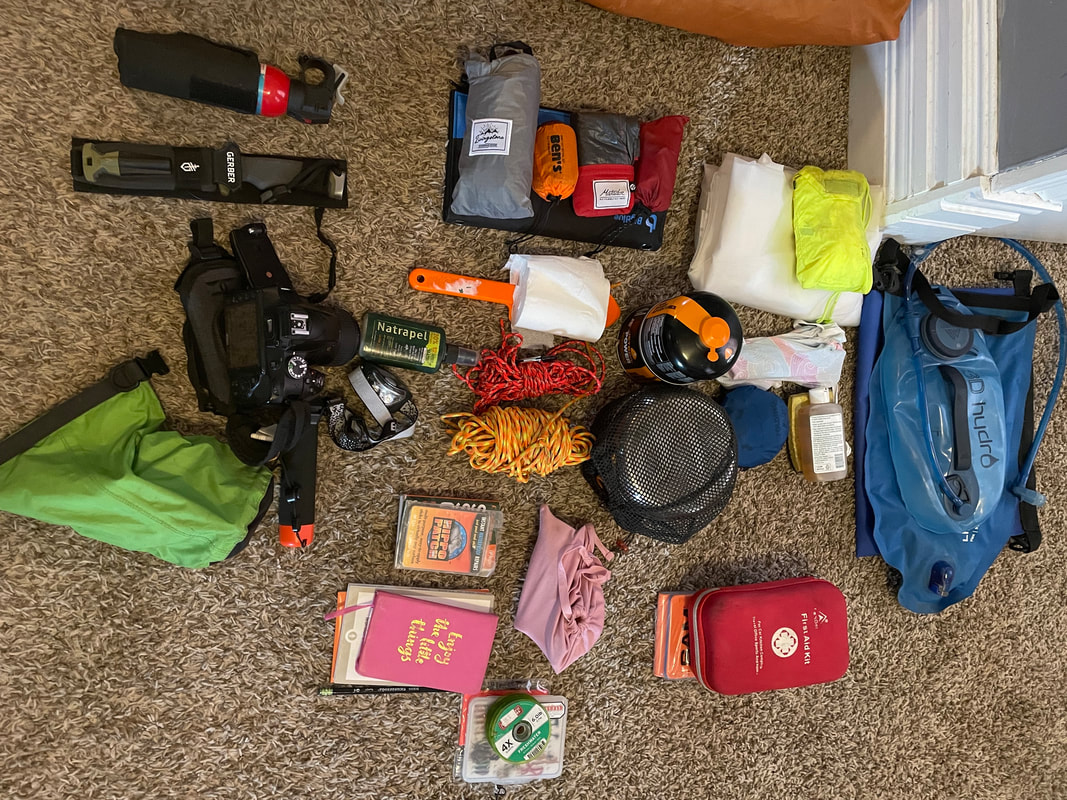 Here is the initial layout of all my gear for The Four Pass Loop trail. Lessons learned:1) Test your gear, especially your food
I won’t say which dehydrated food company my friend didn’t like, but I will share my favorite! Visit my “Picking Dehydrated Meals” post comparing a few brands’ ingredients from my local REI.
2) Know where everything is packed Knowing how to quickly find the gear is half of the battle when you are in the backcountry. It will do you little good to carry a first aid kit if you cannot find it inside your backpack in the case of an emergency. John fell in Yellowstone and didn't know where his bandages were inside his first aide kit. He was close to just dumping it all out before I stopped him and handed him mine - which I found easily. 3) Weigh your stuff and only carry 20% of your weight
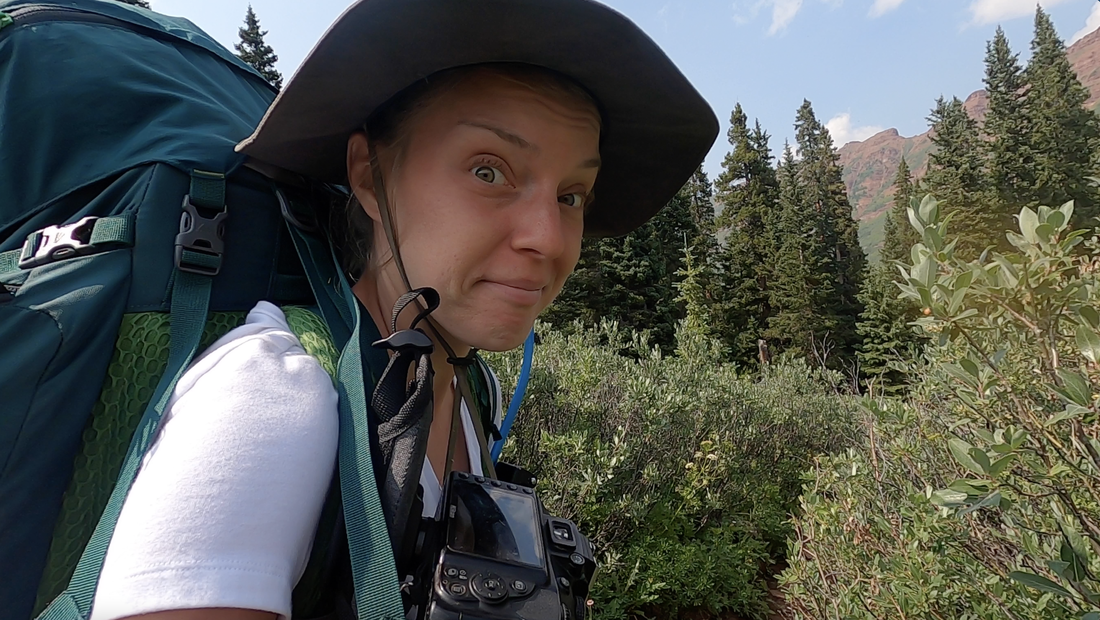
Read their “How Much Should My Backpack Weigh” article here! All of my heavy gear has caused me to fall behind my friends on nearly every trip. It has not been fun, and it's been a difficult lesson to learn. This is why I want to share the gear I absolutely cannot live without and other items that I am hoping to spare you from purchasing and lugging around when they are not necessary! 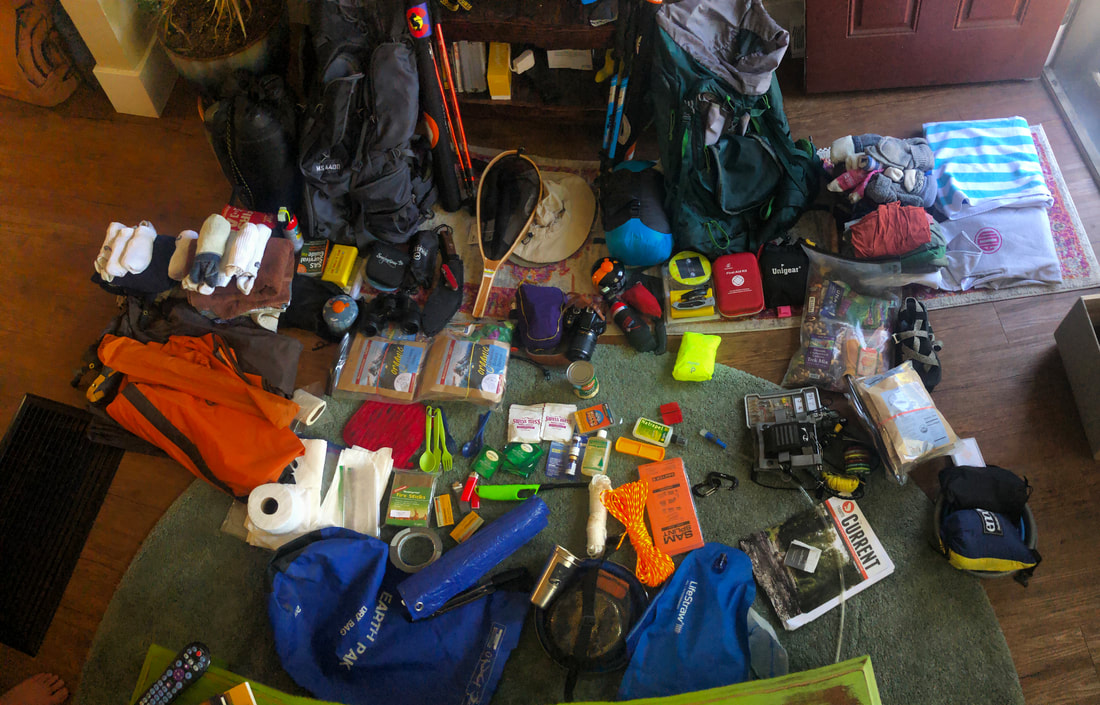 This was both mine and John's gear, food, and clothes for Yellowstone National Park. I will not discuss every piece of my gear in the next section, so if you want to see a more complete list of our gear read our “What Did We Carry in Yellowstone’s Backcountry” post, here! Things I always pack with me:There are a few things I pack with me on every trip whether it be a day hike, multi-day backpacking trip, or just a car camping excursion. - First Aide Read the entire breakdown of my first aid kit in the detailed blog post here. - Rain Gear For rain gear, I alway carry a lightweight and compact poncho for myself and my Dueter backpack cover. 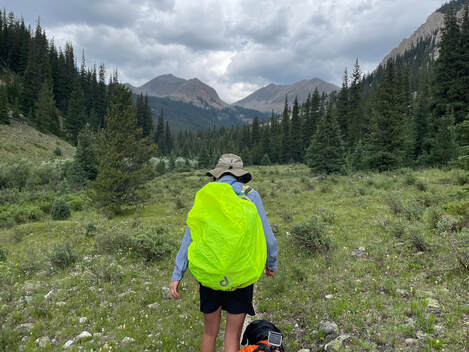 Me using my Dueter rain cover at Taylor Park Reservoir in Colorado. - Camera and Videography Gear
I am still learning how to best utilize each of these to document our travels. See how our GoPro Hero 8 did on The Four Pass Loop Trail in the video below! Gear I love: - My dehydrated meals I have started making my own dehydrated meals and snacks for the trail, after too many disappointing packaged meals had bad ingredients and cost too much. You can read all my favorite recipes and learn how I do it in my “Dehydrated Healthy Recipes Guide” here! - Selk Bag
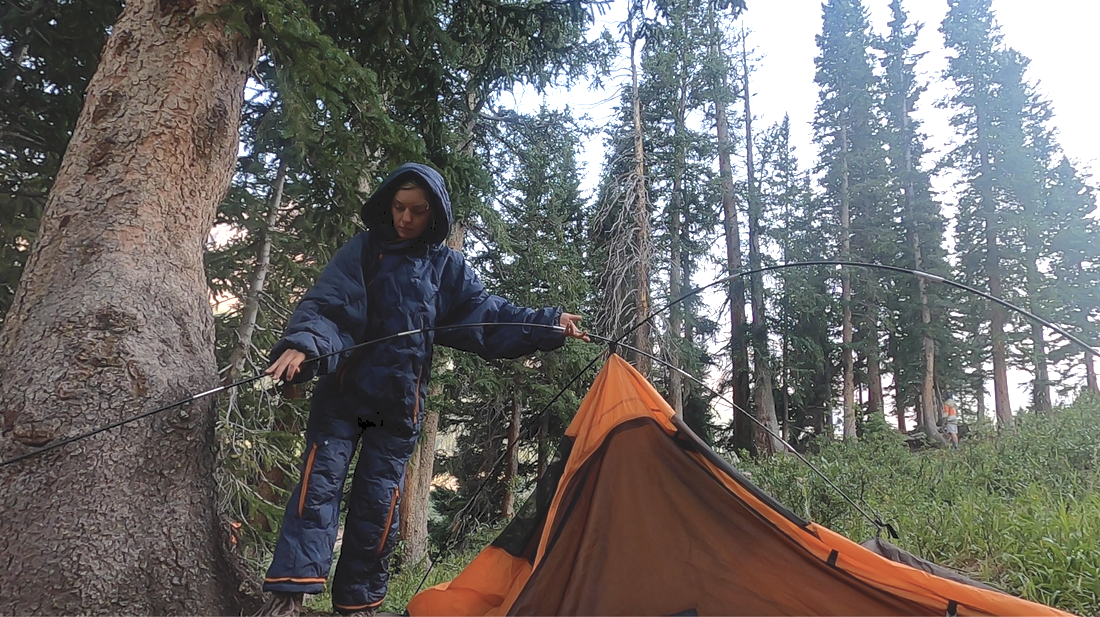
If you are interested in a Selk Bag please use this referral code when purchasing your own TAYLOR10! - Solar panel This is one of my items that I love to hate and hate to love. John bought this very nice, multi-panel solar charger for my birthday a few years ago. It is ultra convenient to have on the trail so that I didn’t have to bring extra batteries, but my particular version is very large. I saw a few people carrying smaller versions on the trail, and I plan to exchange mine for a smaller model soon! Here is the exact one I carry now. It is GREAT for car camping! 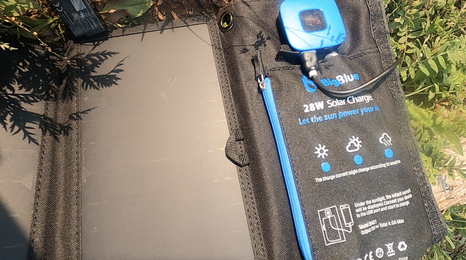 Gear I cannot wait to replace: - Solar Panel As previously mentioned, this is a large, bulky item, and although it is useful, it will be the first thing I take out of my pack next time. - Tent
- Backpack
I purchased this at one of REI’s Member Garage Sales. I went for the cheaper price over proper fit. I do not recommend this if you plan to do multi-night backpacking trips. Instead, I recommend you get fitted at REI! They have free consultations where an employee will show you how to properly pick a pack. I plan to do this as soon as I can! Plan your visit at REI.com I’ll be taking another good, hard look at all of my gear again before any more backpacking trips. Hopefully I can replace the items I want and get my pack weight down closer to the 30 pounds I need. My body will be thrilled if I can pull it off!  I can't wait to get back on the trail! Read about some of our other camping trips: |
Talkin' 'bout Tacos
I'm Taylor, aka Tacos! I am sharing my journeys and experiences from across the world hoping to inspire travel and adventure in all who read! Archives
January 2023
|